React Native push notification 설정하기 - iOS편
firebase와 spring boot를 이용하여 react native에서 push notification 설정하기 - iOS편
iOS에서 push notification 보내는 방법을 알아보아요.
1. Dependency 추가하기
yarn add @notifee/react-native @react-native-async-storage/async-storage @react-native-firebase/app @react-native-firebase/messaging각 dependency에 대한 용도는 다음과 같습니다.
@notifee/react-native: local notification, fcm notification을 사용하기 위한 라이브러리@react-native-async-storage/async-storage: 앱 내부에서 데이터를 저장하기 위한 라이브러리@react-native-firebase/app: firebase 서비스를 사용하기 위한 초기 설정@react-native-firebase/messaging: firebase messaging을 사용하기 위한 라이브러리
저의 경우, 버전은 다음과 같이 사용했습니다.
  "@notifee/react-native": "^7.8.2",
  "@react-native-async-storage/async-storage": "^2.0.0",
  "@react-native-firebase/app": "^20.4.0",
  "@react-native-firebase/messaging": "^20.4.0",
auto linking을 해주기 위해 다음 명령어를 실행합니다.
cd ios && pod install && cd ..그리고 ios/Podfile에 다음과 같이 추가해줍니다.
pod 'GoogleUtilities', :modular_headers => true
pod 'FirebaseCore', :modular_headers => true
2. firebase 설정하기
- 프로젝트 만들기
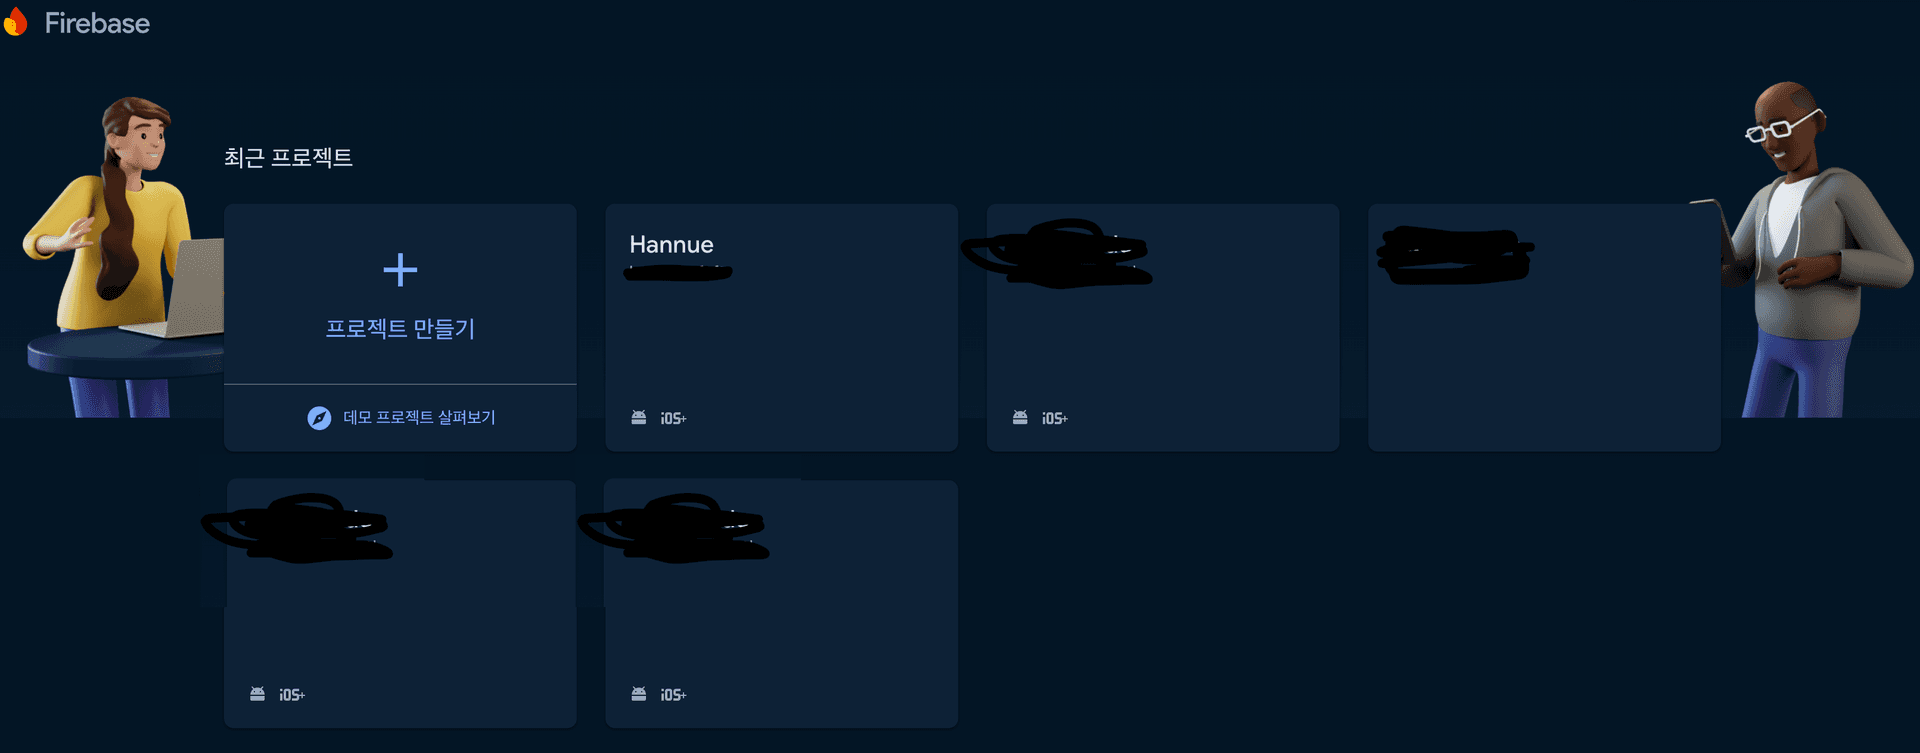
- 프로젝트를 만들면 아래와 같이 화면이 나오는데요.
- 프로젝트 설정 왼쪽 상단
프로젝트 설정을 클릭하거나 icon을 클릭하면 됩니다. 우선 iOS부터 설정해보겠습니다.


- 앱 등록을 하면됩니다. Apple 번들 ID는 Xcode를 통해 확인할 수 있습니다.

3. 구성 파일 다운로드(GoogleService-Info.plist)

다운로드 한 GoogleService-Info.plist 파일을 프로젝트에 추가합니다. Xcode에 drag and drop으로 넣어주면 됩니다.
초기화 코드 추가
AppDelegate.m 파일에 다음과 같이 코드를 추가합니다.
#import <Firebase.h> // fcm

// fcm
if ([FIRApp defaultApp] == nil) {
    [FIRApp configure];
  }
APN 설정하기
Macbook 키체인 접근에서 키체인 접근 열기를 클릭합니다.

-
키체인 접근 > 인증서 지원 > 인증서 지원 > 인증기관에서 인증서 요청을 클릭합니다.

-
인증서 정보 창에서
사용자 이메일 주소,일반 이름,요청항목에서디스크 저장됨과본인이 키 쌍 정보 지정을 체크하고 계속을 클릭합니다.
-
그러면
CertificateSigningRequest.certSigningRequest이름으로 저장을 해주시면 됩니다.
인증서 만들기
이제 developer.apple.com 에 들어가서 인증서를 만들어야 합니다.

상단 오른쪽 배너에 있는 Account를 클릭한 후, 로그인 창이 나올텐데 로그인을 해주시면 됩니다.

인증서(영문)을 클릭하고

다음과 같이 화면이 나오면 왼쪽 배너에서 Keys를 클릭하고 + 버튼을 클릭해 새로운 key를 만들어줍니다.

그리고 Key Name을 입력하고 Apple Push Notifications service (APNs)에 체크, Continue를 다음 화면에서 Register를 해주면 됩니다.

저는 이미 이미 만들어져 있어서 다음과 같이 나오는데요. Download를 클릭해서 저장해주시면 AuthKey_xxxxxxxx.p8이 생성됩니다.
그리고 Key ID도 저장해두시면 됩니다.
App IDs 생성
왼쪽 배너에서 Identifiers를 클릭하고 + 버튼을 클릭합니다.

App IDs에 기본적으로 체크가 되어있을텐데요, Continue를 클릭합니다.

여기서도 App 타입이 기본적으로 선택이 되어 있고, Continue를 클릭합니다.

description을 입력하고, Bundle ID(Xcode에서 확인 가능)를 입력하고 Push Notifications을 체크하고, Continue를 클릭합니다.

Push Notifications는 같은 화면에서 Capabilities 탭에서 찾을 수 있습니다.

다음 화면에서 Push Notifications에 체크되어 있는지 다시 확인하고, Register를 클릭합니다.

마지막으로 identifiers 배너에서 생성한 App 이름을 클릭하고,
Capabilities탭에서 Push Notifications가 처음엔 Certificates가 (0)으로 나와있을텐데요 Edit을 눌러서

Apple Push Notification service SSL Certificates 모달창에서 Development SSL Certificate, Production SSL Certificate를 생성해주시면 됩니다.

firebase에서 방금 생성한 인증키(AuthKey_xxxx.p8) 등록
firebase로 돌아가서 클라우드 메시징 탭에서 Apple 앱 구성에서 방금 생성한 인증키(APN)를 등록해줍니다.


키 ID는 Apple developer페이지 -> Keys 배너에서 확인할 수 있습니다.

팀 ID는 https://developer.apple.com/account 로 들어가서, 스크롤을 조금 아래로 내리시면, 멤버십 세부 사항에 나와있습니다.

Xcode에서 Capability 설정
Xcode로 돌아와서 Signing & Capabilities 탭에서 Push Notifications을 추가해줍니다.

+ Capability를 누르면 이 창이 나오는데요, Push Notificationsd을 추가하고 Background Modes를 추가하고 Remote notifications를 체크해줍니다.

React Native 메세징 받을 준비 - 코드 작성
App.tsx 파일에 다음과 같이 코드를 작성합니다.
async function onDisplayNotification(
  title: string,
  body: string
): Promise<void> {
  try {
    const channelId = await notifee.createChannel({
      id: 'default',
      name: 'Default Channel',
      importance: AndroidImportance.HIGH,
    });

    await notifee.displayNotification({
      title,
      body,
      android: {
        channelId,
        importance: AndroidImportance.HIGH,
        pressAction: {
          id: 'default',
        },
      },
    });
    console.log('Notification displayed successfully');
  } catch (error) {
    console.error('Error displaying notification:', error);
  }
}

const [fcmToken, setFcmToken] = useState<string | null>(null);

console.log(`fcmToken: ${Platform.OS} ??`, fcmToken);

useEffect(() => {
  const getFcmToken = async () => {
    // Get the token from storage
    const storedToken = await AsyncStorage.getItem('fcmToken');

    if (storedToken) {
      setFcmToken(storedToken);
    } else {
      await messaging().requestPermission();

      const token = await messaging().getToken();

      if (token) {
        await AsyncStorage.setItem('fcmToken', token);
        setFcmToken(token);
      }
    }
  };

  getFcmToken();

  const unsubscribeTokenRefresh = messaging().onTokenRefresh(async (token) => {
    await AsyncStorage.setItem('fcmToken', token);
    setFcmToken(token);
  });

  const unsubscribeMessage = messaging().onMessage(
    async (remoteMessage: FirebaseMessagingTypes.RemoteMessage) => {
      console.log('A new FCM message arrived!', JSON.stringify(remoteMessage));

      if (remoteMessage.notification) {
        await onDisplayNotification(
          remoteMessage.notification.title || 'New Message',
          remoteMessage.notification.body || 'You have a new message'
        );
      }
    }
  );

  const notificationListener = notifee.onForegroundEvent(
    async ({ type, detail }) => {
      switch (type) {
        case EventType.DISMISSED:
          console.log('User dismissed notification', detail.notification);
          break;
        case EventType.PRESS:
          console.log('User pressed notification', detail.notification);
          break;
      }
    }
  );

  return () => {
    unsubscribeMessage();
    unsubscribeTokenRefresh();
    notificationListener();
  };
}, []);

messaging().onMessage(async (remoteMessage) => {
  console.log('Foreground message received:', JSON.stringify(remoteMessage));
  if (remoteMessage.notification) {
    await onDisplayNotification(
      remoteMessage.notification.title || 'New Message',
      remoteMessage.notification.body || 'You have a new message'
    );
  }
});
fcm을 받기 위해서는 각 모바일마다 고유의 fcmToken이 필요한데 그 fcmToken을 AsyncStorage에 저장하고, 메세지를 받을 때마다 onMessage 이벤트를 통해 메세지를 받아서 notifee로 노티를 띄워주는 코드입니다.
알림 작성

firebase에서 왼쪽 배너 빌드 -> Messaging으로 들어가서 알림 제목과 텍스트를 입력해 알림을 보낼 수 있습니다.

다음 글에서는 android에서 알림을 보내는 방법에 대해 알아보겠습니다.